|
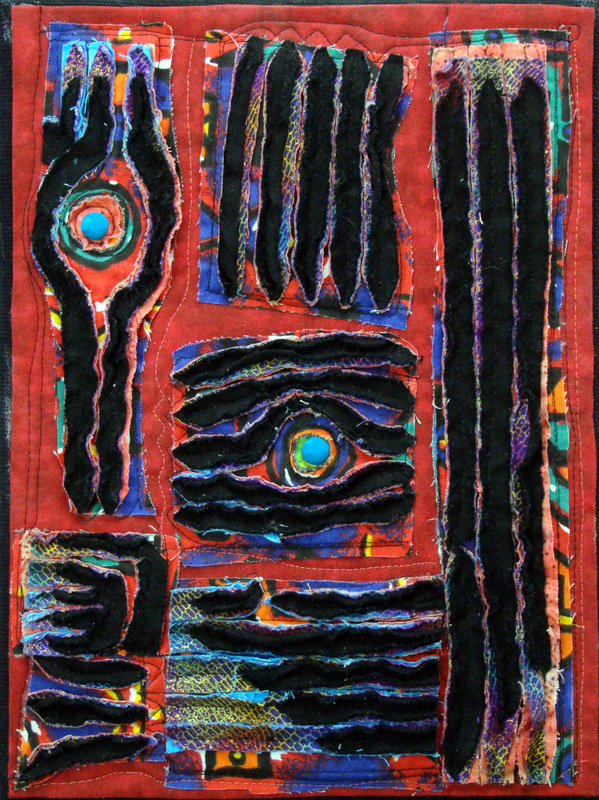
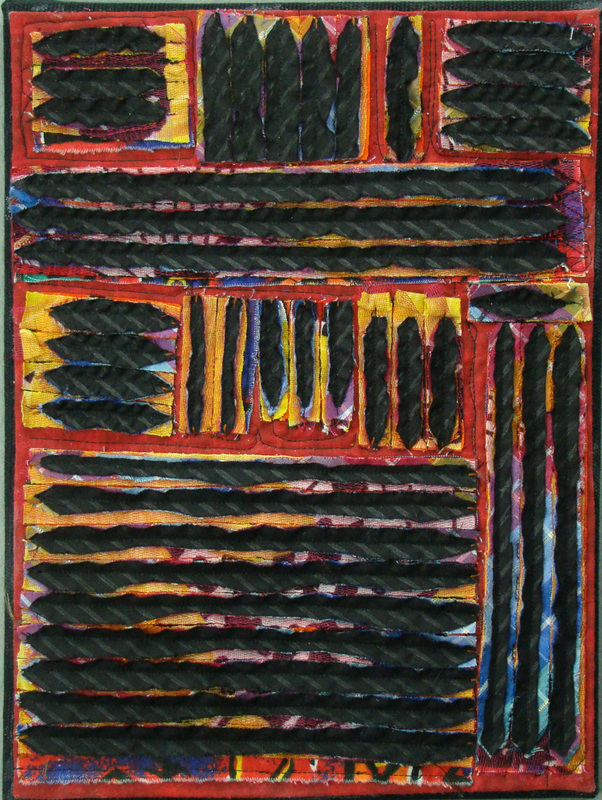
My fabric adventures had not included fabric chenille until this week. How could I have missed this fun technique? I wanted to use it to create a small piece with deep texture. I am happiest when I can be spontaneous through most of the sewing process. So, when I was a little dissatisfied with the early result, I continued to cut the design apart and reassemble it on a new background. Two fabric covered buttons completed the design. The final work is mounted on a stretched canvas. Size is 9" x 12". I love the way underneath colors peek through. So, I tried it again. This time I selected a softer, lighter weight black fabric for the top layer. There is a little more variety in the underneath layers. I used a nylon tulle over a knit with a bright yellow pattern. In some places the edges of the knit rolled up to interesting effect. I cut this apart and reassembled it on the red background as in the first sample, but with less red showing. I hope this technique will find its way into some Range Walker garments!
0 Comments
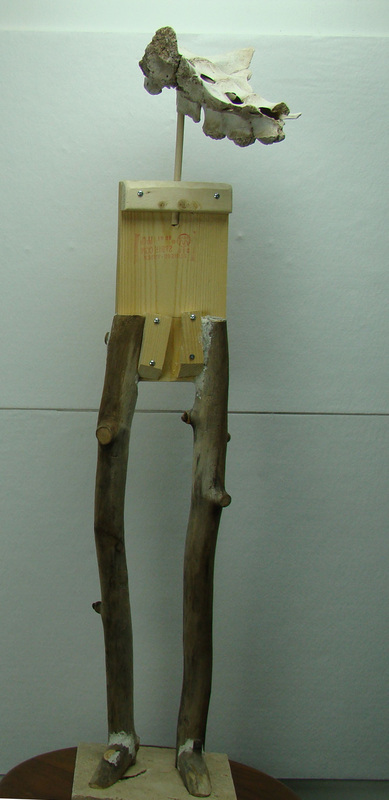
I've been hanging onto this vertebrae bone for several years. It is about 8" long by about 7" wide. The size seemed appropriate for a larger figure than I've made before. Typically, the larger the figure the more trouble awaits me in getting it to stand successfully. I guess my previous struggles paid off here as this went rather easily this time. The aspen wood I used for the legs is softer than the pine I often select. I've found that if the figure doesn't stand well are this early stage, it never will. I use screws and wood glue to assemble the figure. The bone is attached to a 3/8" dowel that is inserted into a hole drilled in the body. The base is a stone tile. I could see right away that the neck was too long and skinny and that the body needed to be bulkier. I've tried to illustrate in the photo gallery below how I developed a back for the head. I found a shell that snugged into the form of the bone. using this as the back of the skull I built a head form that blends into the bone. I use a home made paper mache material that adheres well to the wood, bone and shell and is extremely strong when it dries. The neck still seemed too long, so I added wood to built up the top of the torso. While this was in progress and to take advantage of drying time, I began to build up a bulkier body. again using my paper mache. Finally, I glued 2 small triangular pieces of wood near the base of the neck to begin a transition between the neck and shoulder. My process has been to wait to glue the neck into the body near the end of the process. This has made it far easier to dress the figure. I am longing to stick everything together now, but I'll try to hold off until I get a better idea of the final plan. My paper clay goop is based on a recipe you can find on this website. Have fun!
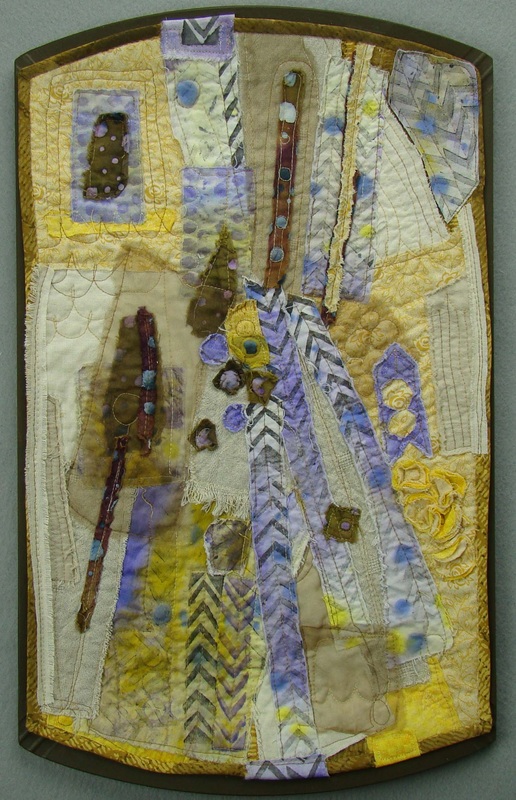
I got inspired to create a small fabric collage this week. So often in the past few years I've done this work for doll skirts or garments. What a relief to shed the skirt-thinking for an afternoon. I used some hand painted and printed fabrics mixed with a few other things. The size is 14" wide by 17" high. The piece is mounted on an old press-board tray with gel medium.
|
Archives
March 2022
Categories |


 RSS Feed
